Conventional NDT
Conventional NDT has historically been the initial point for evaluating and verifying an asset’s compliance for safe operation. From ‘fabrication’ to ‘in-service’ examinations, conventional NDT can be used to detect threat mechanisms as a cost-effective method for identifying compliance to relevant codes and underlying ‘in-service’ condition of the component.
Implementing the correct frequency of inspections allows the early identification of potential issues, enabling monitoring or repair strategies to be implemented prior to any unplanned failure.
Visual Inspection
Visual Inspection (VT) is the most commonly used form of NDT. Visual inspections (with or without optical aids) provide the first point of assessment for all components requiring integrity management. From this point, appropriate inspection techniques are employed for further investigations of the component.
Dye Penetrant Inspection
Dye Penetrant Inspection (DPI) is a widely applied NDT technique for non-porous materials, to detect cracks, porosity, seams and laps at point of fabrication, or fatigue cracks while in-service.
Magnetic Particle Inspection
Magnetic Particle Inspection (MPI) is one of the most commonly used methods of NDT and is carried out to test for discontinuities such as cracks, porosity, seams and laps at point of fabrication, or fatigue cracks while in-service.
Eddy Current Inspection
Eddy Current testing (ECI) examinations are carried out to test for surface breaking fatigue cracks under non-conductive, or conductive coatings using an electromagnetic field. This technique allows protective coatings to remain intact, keeping corrosion protection in place. MPI is used to confirm the detection of fatigue cracks found by ECI.
Ultrasonic Wall Thickness Testing
Ultrasonic Wall Thickness Testing (UTWT) can be used for a range of examinations from confirming the thickness of a material through to flaw detections such as laminations, inclusions, and stringers at point of fabrication. UTWT can also be used for bond integrity, back wall corrosion detection and monitoring during in-service.
Ultrasonic Weld Inspection
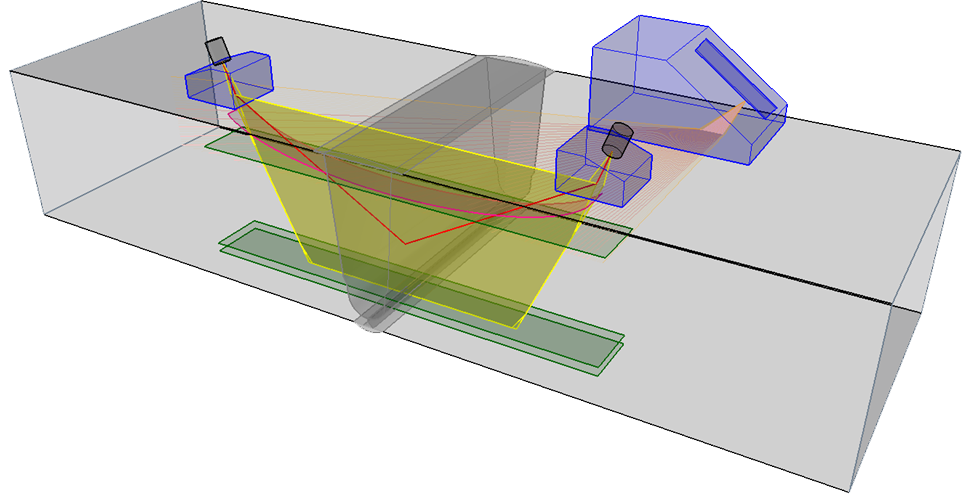
Manual Ultrasonic Weld Inspection (MUT) can be used to inspect welds using a range of angles to interrogate full weld volume for embedded planar, and volumetric flaws. Detection of flaws such as porosity, slag, lack of inter-run fusion, lack of side wall fusion and cracks can be detected at the point of fabrication, or fatigue cracks and corrosion while in-service.

